
in·tu·i·tive in-‘tü-ə-tiv, -‘tyü- adj (ca. 1645)
1 a : known or perceived by intuition : directly apprehended b : knowable by intuition ‹~ truths› c : based on or agreeing with intuition ‹~ responses› ‹makes ~ sense› d : readily learned or understood ‹software with an ~ interface›
2 : knowing or perceiving by intuition
3 : possessing or given to intuition or insight ‹an ~ mind›
— in·tu·i·tive·ly adv
— in·tu·i·tive·ness n
This is the word that best describes the CENTURION D-Series interface. Intuitive. When you get right down to it, there’s really very little thinking to be done on the part of the user – the controller does it all for you! From setting the limits to learning additional remote controls, setting up your gate motor using this advanced platform is like having a friendly robot holding your hand and guiding you through each and every step.
But, just in case you don’t know just how easy it is, this tutorial will guide you through adding a CENTURION code-hopping remote control to a D-Series gate motor’s onboard receiver.
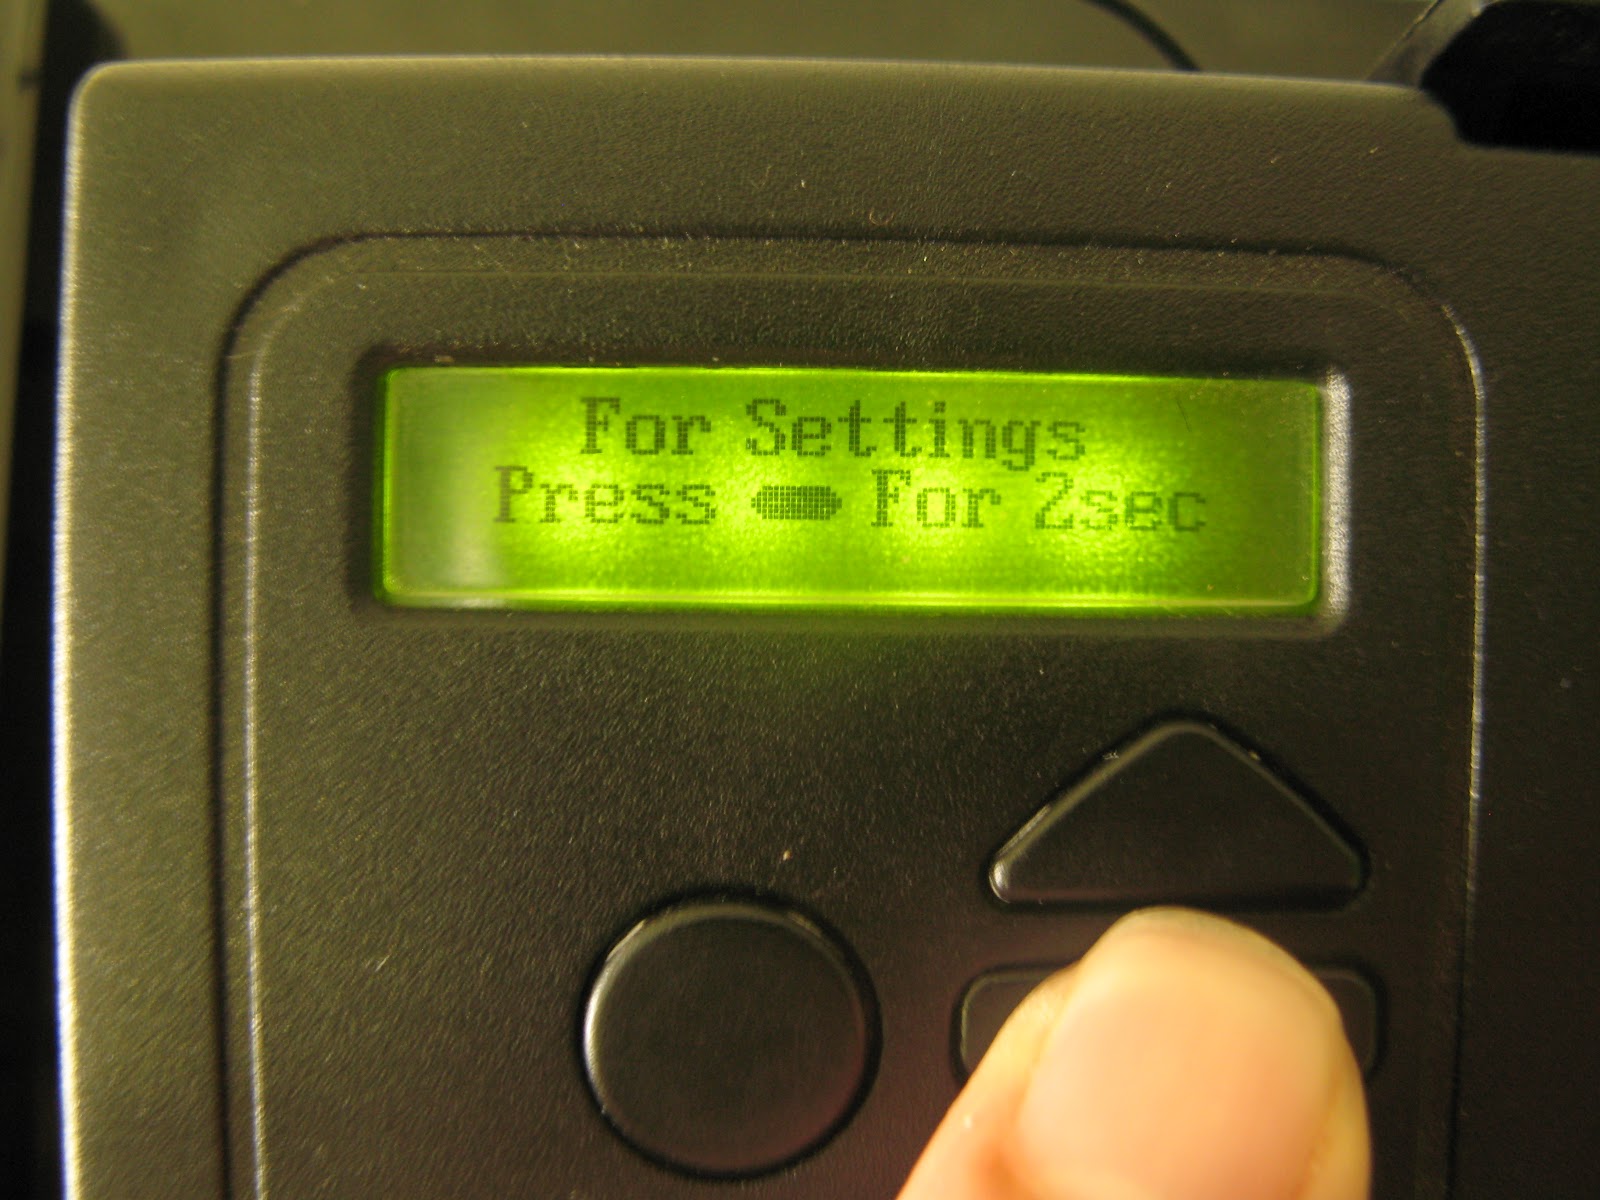
1. Enter Programming Mode by pressing and holding the oblong (centre) button for approximately two seconds. The words “Setting Limits” will appear on the LCD display.
2. Press the up arrow once – the words “Remote Controls (Tx)” will appear on the screen. Press and release the oblong button (this button serves as an “enter” or confirmation button of sorts) to enter the Remote Controls menu.

3. “Add Remote” will now appear on the screen. Press and release the oblong button.

4. The controller will now ask you what you want to use the remote for, for e.g. triggering the gate, opening for pedestrians, activating the Holiday Lockout feature, etc. Say, for e.g. that you wish to press the remote to open, stop and close the gate; you will then select “Trigger Gate” as the primary function. Once again you will use the oblong button to confirm your selection.
5. The next screen will display “Time-bar remote: No”. If you don’t want to enable time-barring for that particular remote, simply press the oblong button to confirm your selection as being “No”. If you want to time-bar the remote, press the up arrow so that the screen displays “Yes”, and confirm with the oblong button.

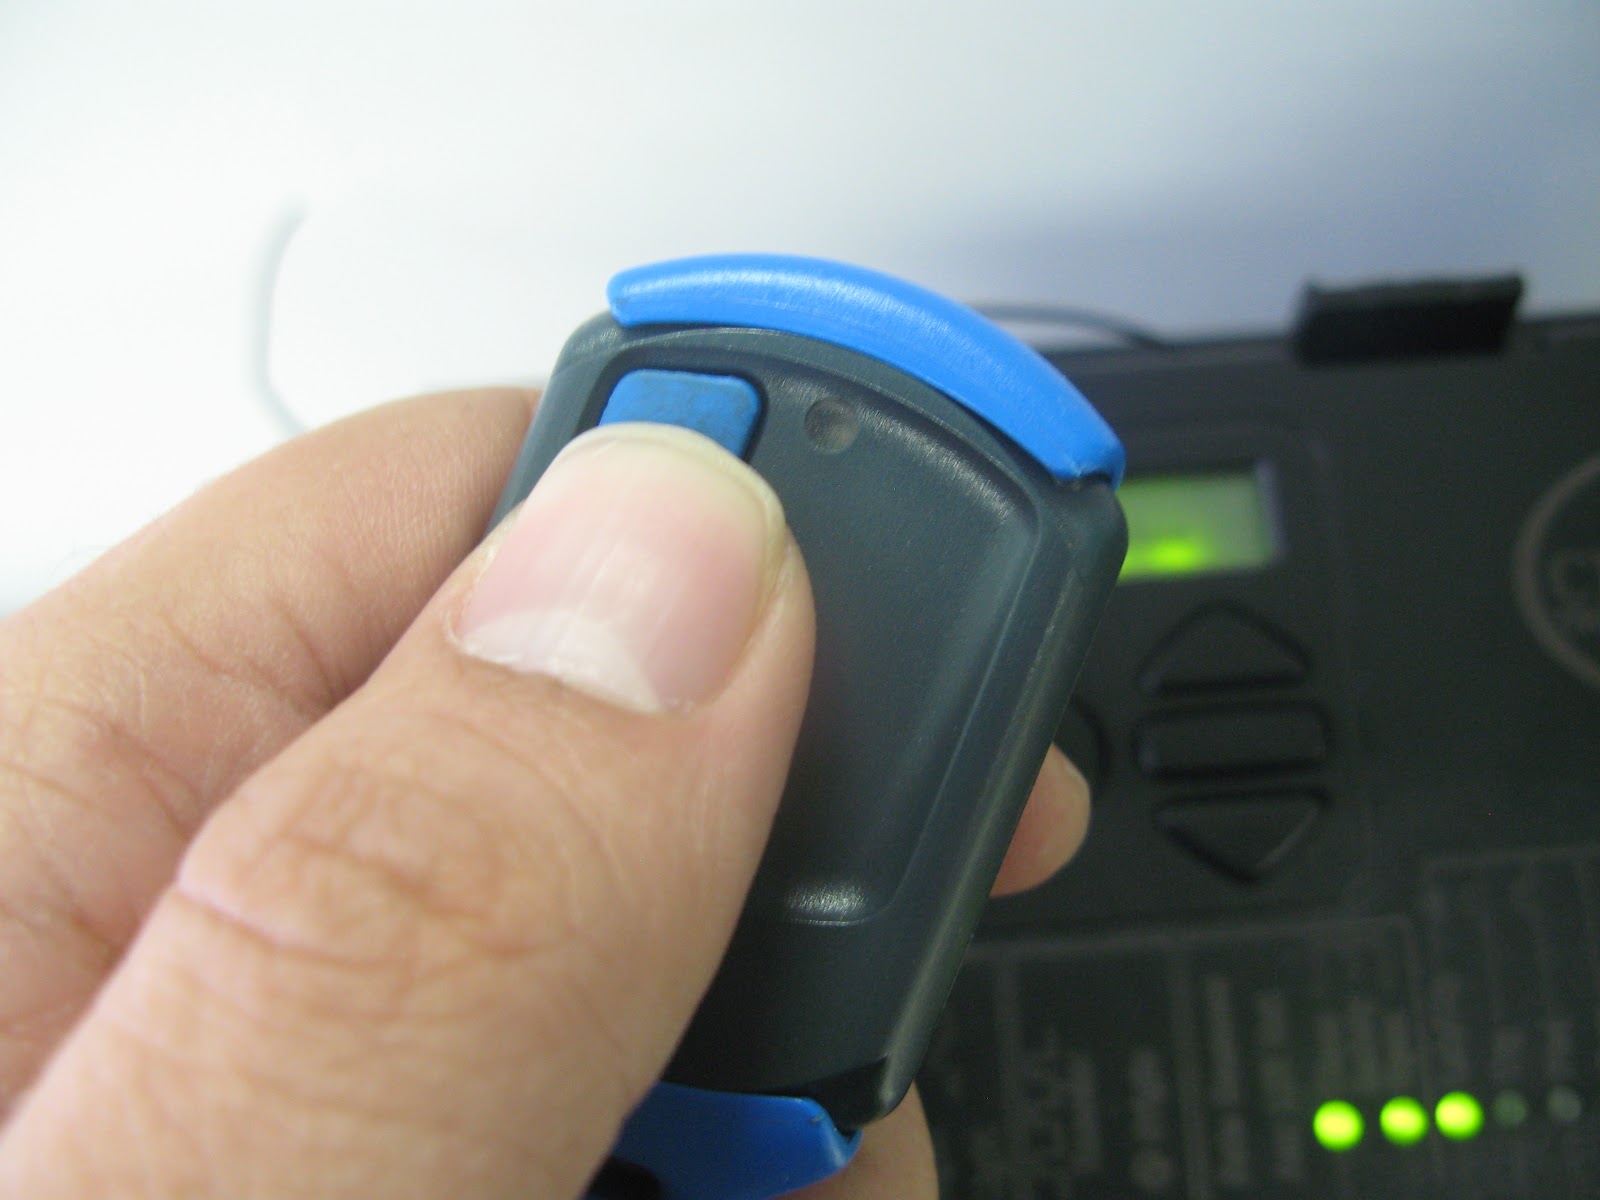
6. The unit will now ask you to press your remote button.

7. Press and release the desired remote button(s).
8. A unique ID will appear on the screen, indicating that the button has been successfully learned.
9. Now press the round button twice to exit Programming Mode.
10. Hey presto! Your CENTURION remote is ready to be used!